This is a straightforward bacon cheeseburger — one pound of ground beef, eight slices of bacon, cheddar, and a toasted bun. The whole thing is done in 20 minutes, which makes it a realistic weeknight dinner rather than a weekend project. No special equipment, no hard-to-find ingredients.
The technique that matters
Two things decide whether this burger is good or just okay. First, resist pressing the patty down with a spatula while it cooks. That squeezes out the fat and moisture you want to keep inside. Second, get your pan or grill genuinely hot before the patty goes on — a properly preheated surface gives you a seared crust in 4–5 minutes per side rather than a grey, steamed patty. For food safety, cook ground beef to an internal temperature of 160°F (71°C); a cheap instant-read thermometer takes the guesswork out of it completely.
Shopping notes
- Ground beef fat content: 80/20 (chuck) works best here. Leaner blends like 90/10 tend to dry out quickly at medium-high heat with no sauce in the mix to compensate.
- Bacon: Regular-cut slices cook faster and lie flatter on the patty than thick-cut. Thick-cut tastes great but takes longer to crisp and can slide around in the burger.
- Cheddar: Pre-sliced deli cheddar melts more evenly than slices cut from a cold block straight out of the fridge. Either works — just let block cheese come to room temperature for a few minutes first.
Make-ahead notes
You can shape the raw patties up to 24 hours ahead, stack them with a small square of parchment between each one, and refrigerate them covered. They go straight from the fridge to the hot pan — no need to bring them to room temperature first, and cold patties actually hold their shape a little better during cooking. Cooked patties keep in the fridge for up to 3 days; reheat them in a covered skillet over medium-low heat with a splash of water to prevent drying out, about 2–3 minutes per side. Bacon can be cooked ahead and refrigerated for up to 4 days — re-crisp it in a dry pan for 60 seconds before assembling.
What can go wrong
- Patties puff up in the middle: Ground beef contracts as it cooks and the center rises. Make a shallow thumbprint indent in the center of each raw patty before cooking — it flattens out as the burger cooks and you end up with an even patty.
- Cheese slides off instead of melting: The cheese needs a lid to melt properly in a skillet. Cover the pan for the final minute after adding the cheese slice, or tent a piece of foil over the patties on the grill.
- Bacon grease smokes out the kitchen: Cook the bacon over medium rather than medium-high heat. It takes an extra minute or two but produces far less smoke and gives you more control over crispness.
- Bun goes soggy before you finish eating: Toast the cut sides of the bun until they are genuinely golden, not just warm. A properly toasted bun creates a barrier that holds up against the patty juices for the full length of the meal.
- Burger falls apart when you pick it up: Skip the egg in the mix — it makes the patty mushy. Instead, handle the meat as little as possible when forming patties; overworking it is what causes crumbling.
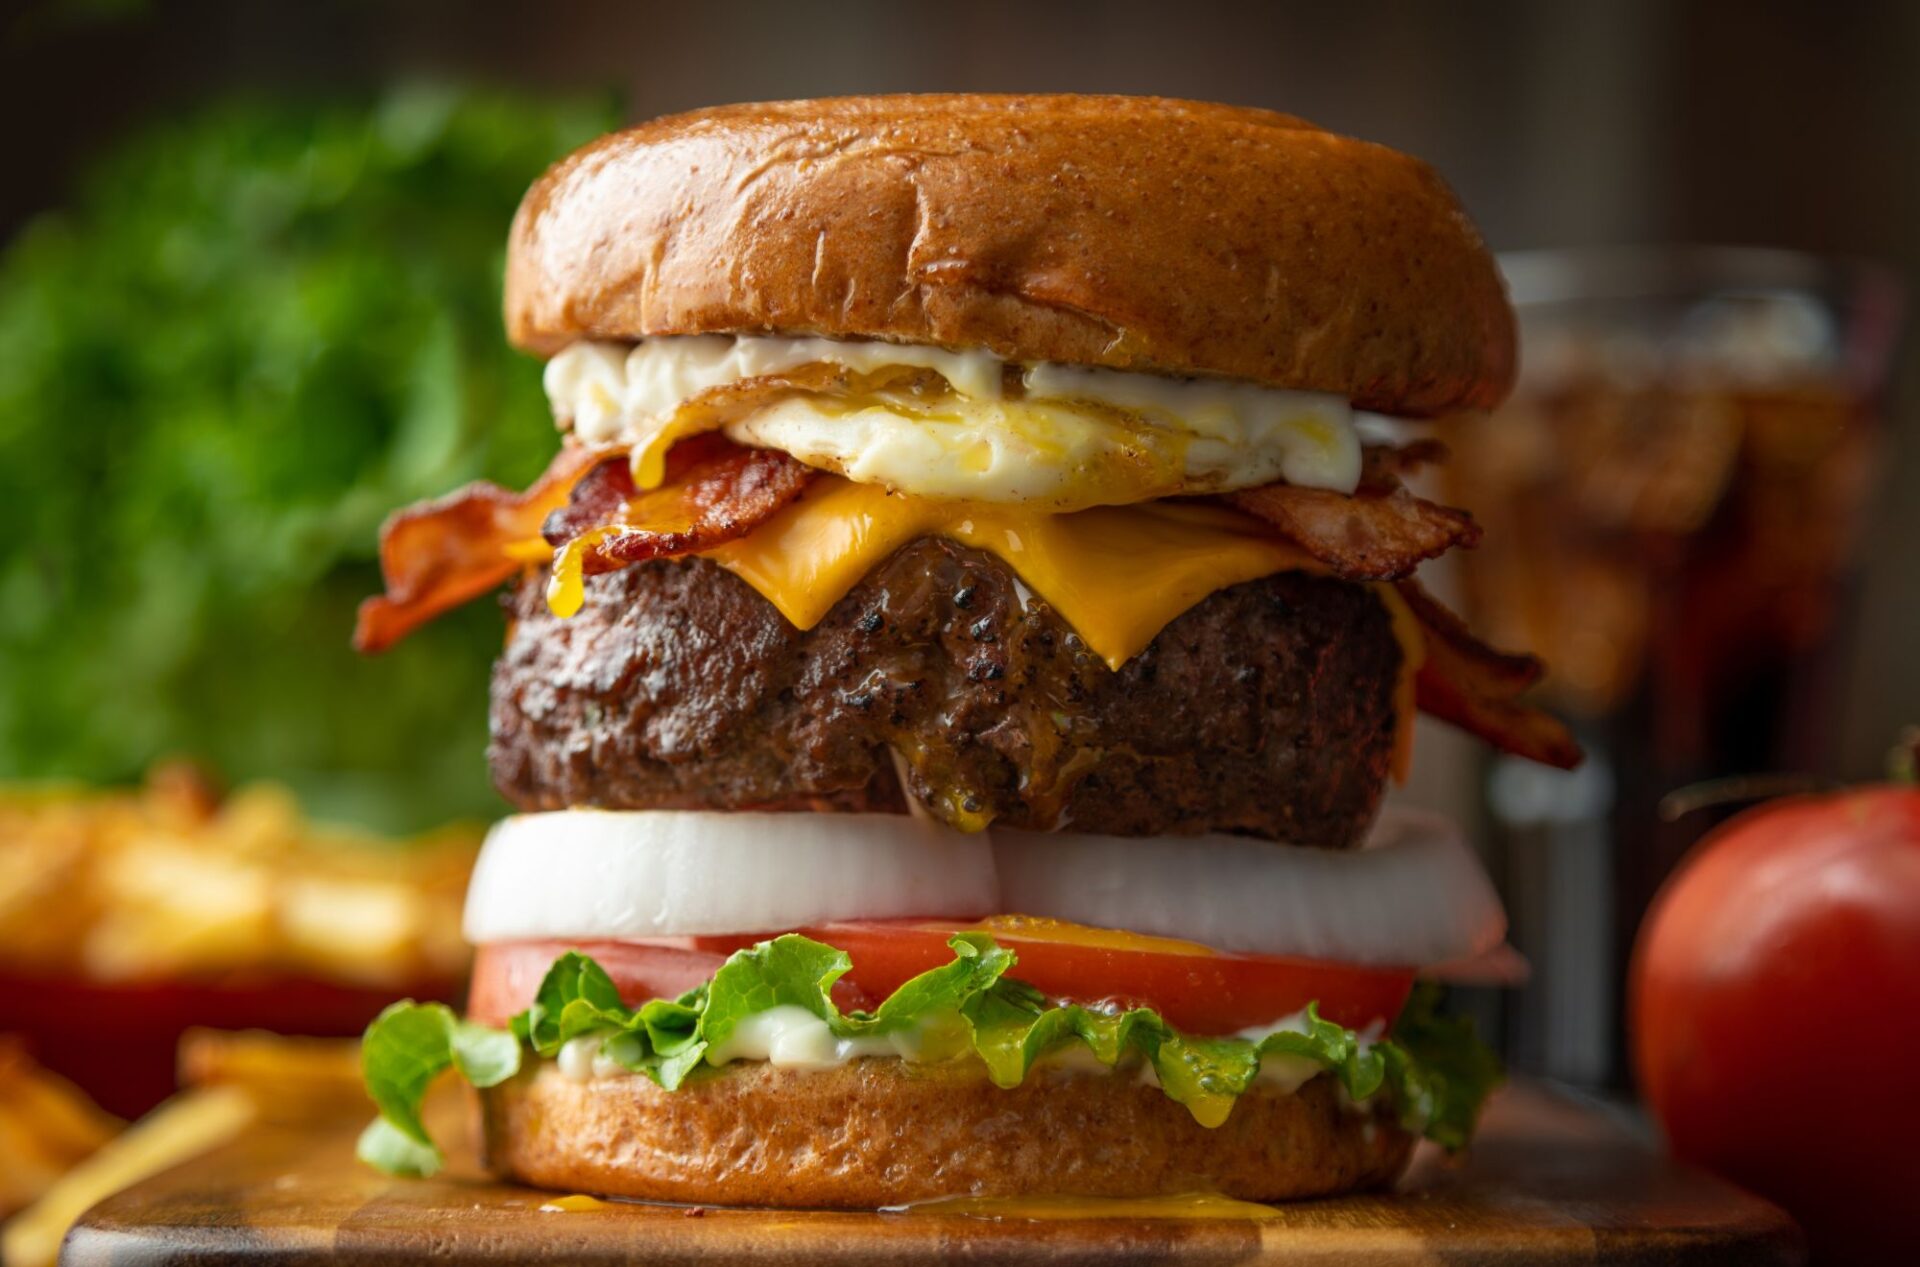
Bacon Cheeseburgers: Juicy and Delicious
Ingredients
- 1 pound ground beef
- 8 slices bacon
- 4 slices cheddar cheese
- 4 medium hamburger buns
- 1 pinch salt to taste
- 1 pinch ground black pepper to taste
Instructions
- Get the grill or skillet ready by preheating it to medium-high heat.
- Separate the ground beef into 4 equal parts and shape them into patties. Add salt and pepper to each patty to season them.
- Cook the bacon slices in a separate pan until crispy. Remove and set aside.
- Grill or cook the beef patties for about 4-5 minutes on each side or until desired doneness is reached.
- Add a slice of cheddar cheese on top of each patty and let it melt for about 1 minute.
- Lightly toast the hamburger buns on the grill or in the oven until golden brown
- To assemble the burgers, take each toasted hamburger bun and place a patty on it. Then, add a slice of bacon and your preferred toppings on top of the patty. This could include cheese, lettuce, tomato, onion, ketchup, egg or any other toppings you like. Finally, place the top half of the bun on the toppings to complete the burger.
- Serve immediately and enjoy your delicious bacon cheeseburgers!
Notes
Nutrition
Common questions
Can I use an 85/15 or 90/10 ground beef blend?
Yes, but expect a drier, firmer patty. Leaner beef has less fat to baste the meat from the inside, so it benefits from a slightly shorter cook time — pull it off the heat as soon as it hits 160°F (71°C) rather than waiting for visual cues.
Do I need to use cheddar, or can I swap the cheese?
Any meltable cheese works fine. American cheese melts faster and more smoothly than cheddar, which makes it a practical swap if you want the cheese fully liquid in under a minute. Pepper jack adds a mild heat that pairs well with the bacon.
How do I know when the patty is done without a thermometer?
Ground beef needs to reach 160°F (71°C) internally — a thermometer is the only reliable way to confirm that. If you don’t have one, 4–5 minutes per side over medium-high heat on a properly preheated surface gets most quarter-pound patties there, but a $10 instant-read thermometer is worth buying.
Can I cook the bacon in the same pan as the burgers?
You can, but it’s easier to manage them separately. Bacon releases a lot of fat and the liquid can prevent the burger from searing properly. Cook the bacon first, pour off most of the grease, then cook the patties in the same pan with just a thin film of fat remaining.
Can I freeze the raw patties for later?
Yes — freeze them in a single layer on a baking sheet until solid, then transfer to a zip-lock bag. They keep well for up to 3 months. Thaw overnight in the fridge before cooking; do not cook from frozen in a skillet or the outside will overcook before the center reaches a safe temperature.
What is the best way to keep the burgers warm if I’m cooking for a group?
Place finished patties on a wire rack set over a baking sheet in a 200°F (93°C) oven. This keeps them hot for up to 15 minutes without steaming them and making the crust soft. Don’t stack them or cover them tightly or you’ll lose the sear.