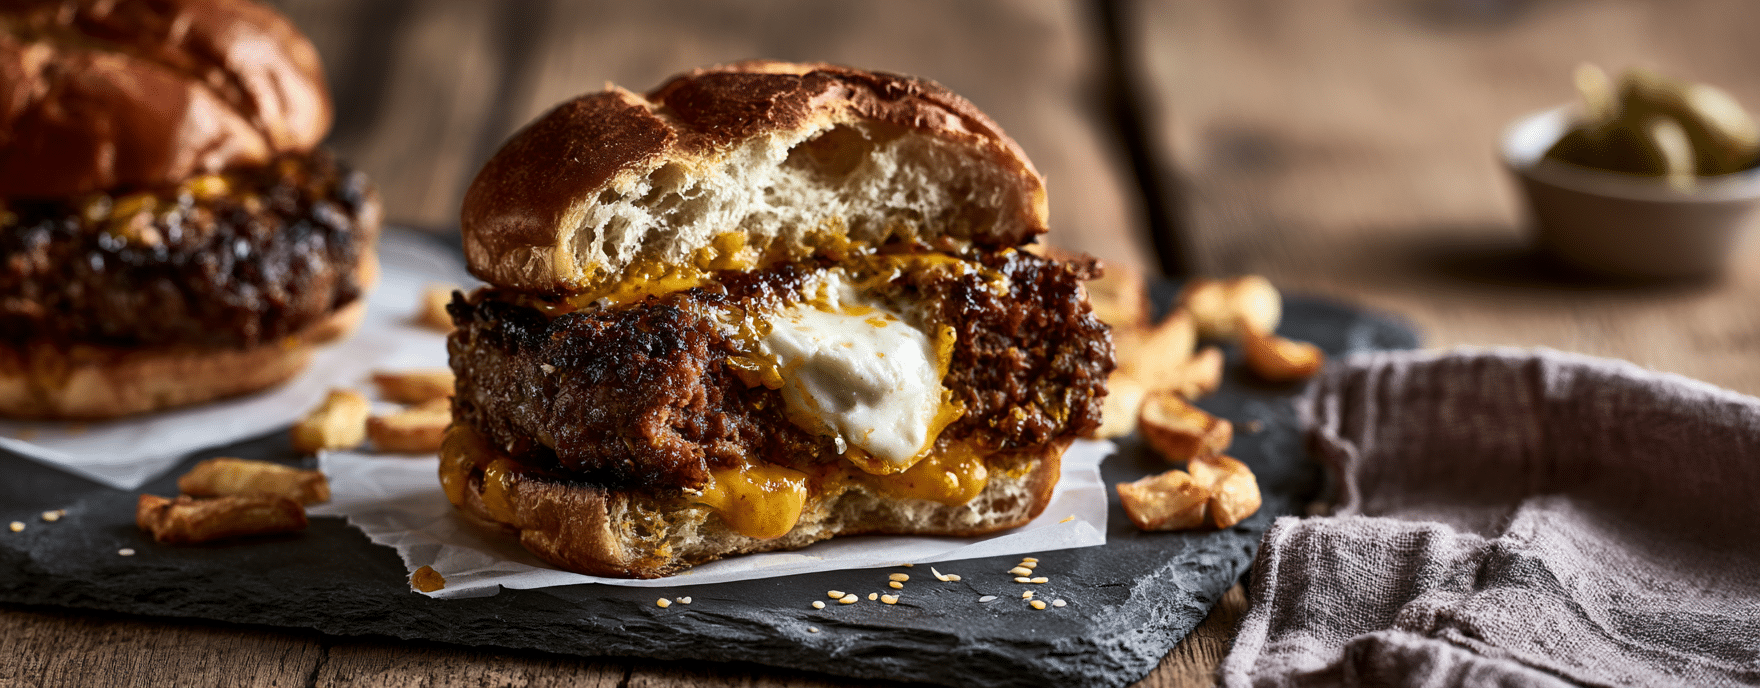
These are oven-baked beef burgers with a pocket of cream cheese and cheddar sealed inside each patty. The cheese stays molten in the middle while the outside cooks through — no fancy equipment needed, just ground beef and a few pantry staples. At 505 calories and about 45 minutes start to finish, they’re a solid weeknight option that feels like more effort than it actually is.
What makes this version work
Two things matter here. First, the cheese mix needs to be fully enclosed — any gap in the seam lets the filling leak out into the pan before the patty sets. Pressing the edges firmly and checking for thin spots before the burgers go into the fridge is worth the extra 30 seconds. Second, the 20-minute chill step is doing real work: it firms the fat in the meat so the patties hold their shape in the oven rather than spreading and splitting. Skip it and you’re gambling on the seal staying intact. The Worcestershire sauce and crumbled beef stock cubes also pull double duty — they season the meat all the way through and add enough salt to help the proteins bind, which means you don’t need a binder like breadcrumbs or egg. Skip the egg in the mix — it makes the patty mushy and the seal harder to maintain.
Smart swaps
- Beef mince: 80/20 ground beef works best for moisture. Leaner blends (90/10) tend to dry out at 160°F — if that’s what you have, add a tablespoon of olive oil to the mix.
- Beef stock cubes: Any brand works. Bouillon powder is a fine substitute — use about half a teaspoon per cube. Low-sodium versions are fine; just taste the raw mix and adjust.
- Cheddar in the filling: Any semi-hard cheese that melts well works — Monterey Jack, Colby, or even a slice of American cheese torn up. Avoid fresh mozzarella; it releases too much water.
- Cream cheese: Full-fat gives the smoothest result, but reduced-fat cream cheese works. Softened brie with the rind removed is a good upgrade if you have it.
- Burger rolls: Standard supermarket buns are fine. Brioche buns are richer; potato rolls are softer. Whatever you have on hand will do the job.
Storage and reheating
Cooked stuffed burgers keep in the fridge for up to 3 days in an airtight container. Reheat in a 325°F (160°C) oven for 10–12 minutes — this warms the cheese center without drying out the outside the way a microwave does. If you want to freeze them, do it before cooking: wrap the raw, chilled patties individually in plastic wrap, then foil, and freeze for up to 2 months. Thaw overnight in the fridge before baking as directed. Don’t freeze cooked stuffed burgers; the cheese filling turns grainy when reheated from frozen.
Troubleshooting
- Cheese leaked out during cooking: The seam had a thin spot or a small hole. Next time, hold each sealed patty up to a light source and look for translucent patches — patch them by pressing extra meat over the spot before chilling.
- Patties fell apart when transferring to the pan: They didn’t chill long enough, or the mix was too warm when shaped. Make sure the meat comes straight from the fridge and that the shaped patties chill a full 20 minutes before going into the oven.
- Burgers came out dry: Ground beef with less than 15% fat will dry out at 160°F. Use 80/20 mince, or mix in a tablespoon of olive oil before shaping.
- Center still cold after 20 minutes: Patties were too thick or came out of the fridge very cold. Add 3–5 minutes and check the internal temperature reaches 160°F (71°C) with an instant-read thermometer inserted through the side into the center.
- Filling tastes bland: The cheese mix needs seasoning. Stir a pinch of salt, a crack of black pepper, and optionally a small amount of garlic powder into the cream cheese and cheddar before filling the patties.
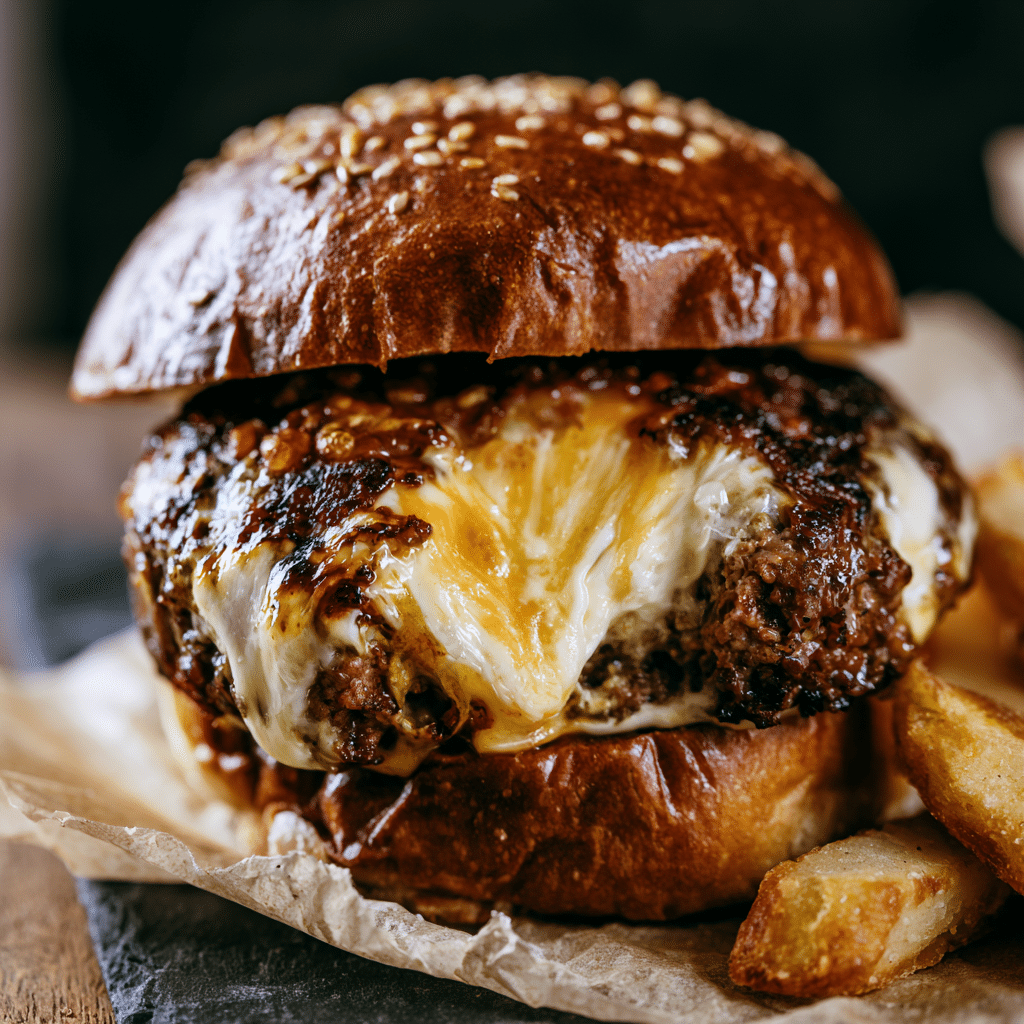
Cheese-Stuffed Burgers – Oozing, Oven-Baked Perfection

Equipment
- Large mixing bowl
- Small mixing bowl
- Oven-safe grill pan or wire rack set over a baking tray
- Aluminium foil
- Instant-read thermometer
Ingredients
Burger Ingredients
- 23 oz beef mince 650g, 20% fat content recommended
- 3 tablespoons Worcestershire sauce
- 2 cubes beef stock about 10g total, crumbled
- 4 whole brioche or sesame burger buns
Cheese Filling
- ⅓ cup cream cheese 80g / about 3 tablespoons, full fat
- 1 oz strong cheddar cheese 30g, finely grated
Instructions
- Add the beef mince, Worcestershire sauce, and crumbled beef stock cubes to a large mixing bowl. Mix thoroughly with your hands until the seasoning is evenly distributed through the meat. Cover the bowl and leave at room temperature for 10 minutes to let the flavours meld.23 oz beef mince, 3 tablespoons Worcestershire sauce, 2 cubes beef stock
- Add the cream cheese and grated cheddar cheese into a separate small bowl and mix well until combined.⅓ cup cream cheese, 1 oz strong cheddar cheese
- Split the burger mix into 8 equal portions (about 80g / 3 oz each) and shape each into a thin patty roughly 12cm (5 inches) across. Place a quarter of the cheese filling — about 1 heaped tablespoon — in the centre of 4 of the patties, leaving a 1cm (½ inch) border around the edge.23 oz beef mince
- Place a plain patty on top of each cheese-topped patty. Press the edges together firmly with damp fingers, working all the way around to create a tight seal. Check for thin spots or gaps — any opening will let the cheese leak during baking. The finished patty should be about 2cm (¾ inch) thick.
- Once you have four good looking raw burgers, wrap them individually in foil and chill the raw burgers in the fridge for 20 minutes to firm up.
- Preheat the oven to 400°F / 200°C (180°C fan-forced). Line a baking tray with foil and place an oven-safe grill pan or wire rack on top.
- Unwrap the chilled burgers and place them on the grill pan or wire rack. Bake on the middle shelf for 18–20 minutes, or until the internal temperature reaches 160°F / 71°C when measured through the side of the patty with an instant-read thermometer. The outside should be firm and browned.
- While the burgers rest for 2 minutes, split the burger buns and toast them cut-side down in the oven for the last 2 minutes of baking, or in a dry skillet over medium heat. Spread any remaining cheese mixture on the bottom bun, place the burger on top, and add your preferred toppings.4 whole brioche or sesame burger buns, ⅓ cup cream cheese, 1 oz strong cheddar cheese
Notes
Nutrition
FAQ
Can I cook these on a stovetop griddle instead of the oven?
Yes, but it’s trickier to control. Use medium heat and cover the pan with a lid to trap heat so the inside cooks through without burning the outside. Expect around 6–8 minutes per side, and confirm the center hits 160°F (71°C) with a thermometer.
How do I know the burger is cooked all the way through without cutting it open?
Use an instant-read thermometer inserted through the side of the patty into the center — you’re looking for 160°F (71°C) for ground beef. Cutting it open lets the cheese escape before you get to eat it.
Can I make the patties the night before?
Yes. Shape, seal, and wrap them individually, then refrigerate overnight. They’ll actually hold together better after a longer chill. Just go straight from fridge to oven.
My cheese mix is too stiff to spoon — what do I do?
Let the cream cheese sit at room temperature for 15 minutes before mixing. Cold cream cheese doesn’t blend smoothly with the grated cheddar and is harder to portion into the patties.
Can I add other things to the cheese filling?
Absolutely — finely diced jalapeño, a small amount of hot sauce, or a pinch of smoked paprika all work well. Keep additions finely chopped and not too wet so the filling stays thick enough to hold its shape inside the patty.
Do I have to use foil when chilling the patties?
No — the foil in the recipe is for wrapping before chilling, not for cooking. A plate covered with plastic wrap works just as well. The goal is just to stop the surface drying out in the fridge.
More burger recipes to try
- Perfect Bacon Double Cheeseburger
- Cheddar Bacon King Copycat
- BBQ Cheeseburger Recipe
- Angus Bacon Guacamole Burger