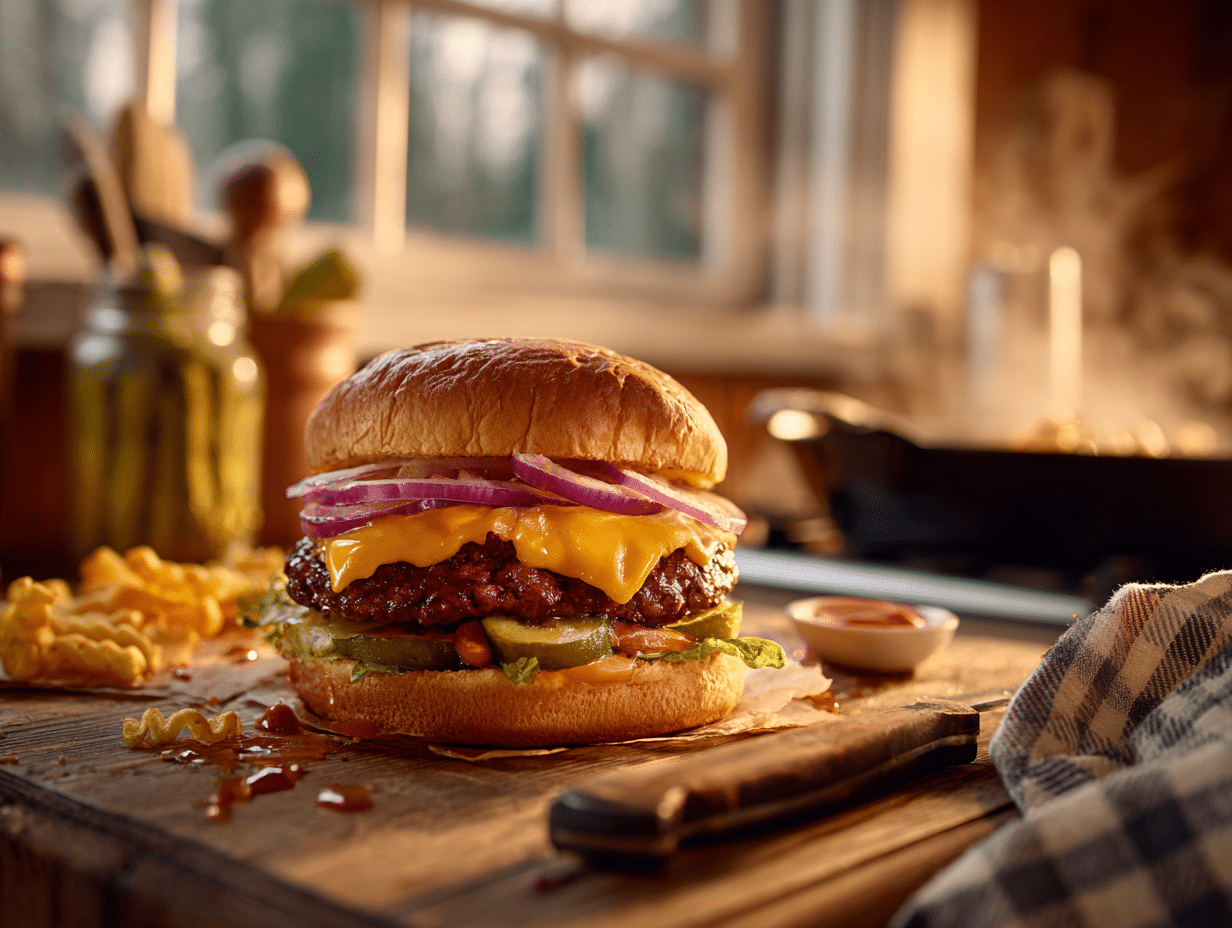
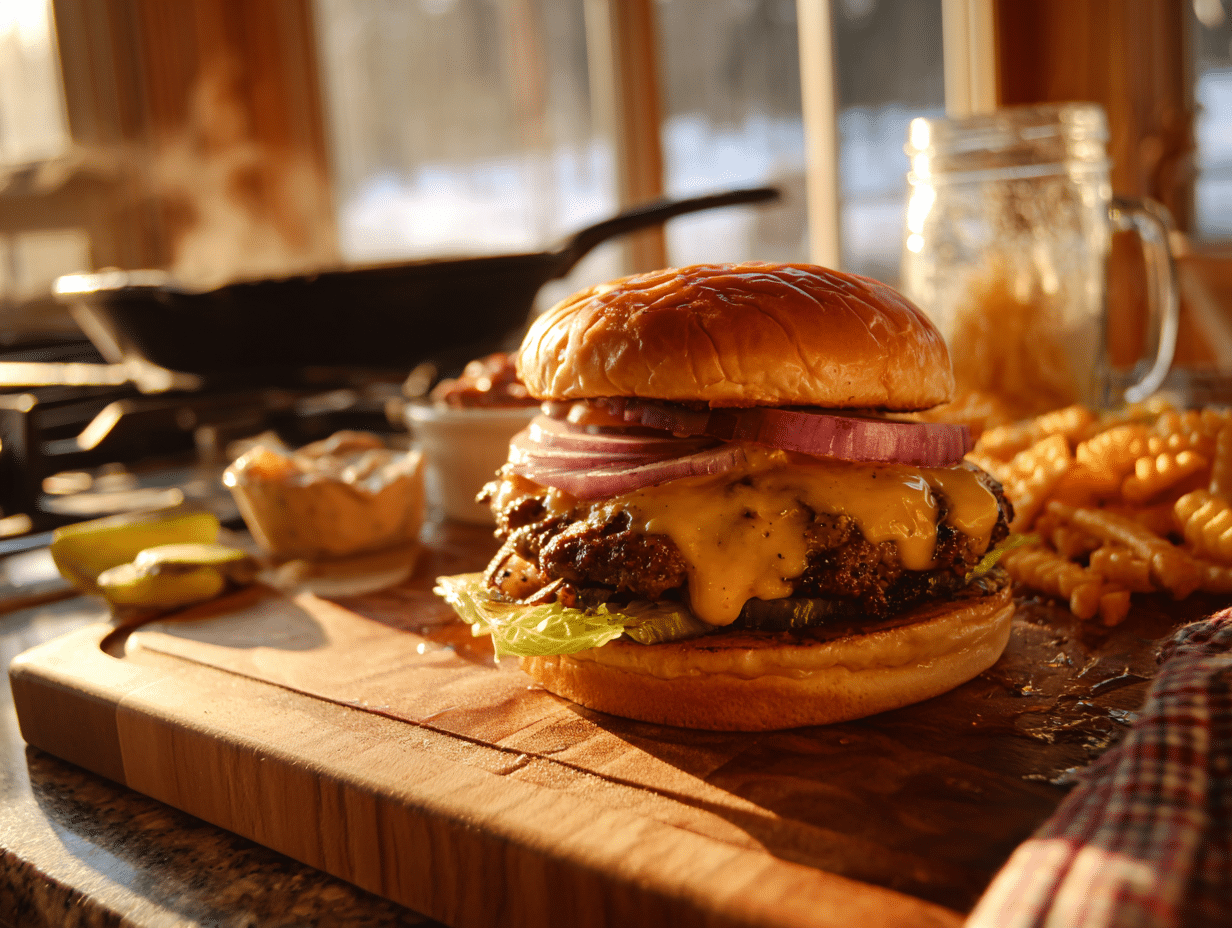
A ButterBurger is a smash-style double cheeseburger where the bun gets buttered and toasted on the same griddle as the beef — that’s the whole trick, and it’s a good one. The result is a crispy, rich bun that holds up instead of turning soggy, wrapped around two thin patties with melted American cheese and fresh toppings. If you’ve never made smash burgers at home before, this is a great place to start: the technique is straightforward and the ingredients are easy to find anywhere in the US.
Shopping notes
- 80/20 ground chuck: The fat percentage matters here. Leaner beef (90/10 or higher) won’t give you the crispy, lacy edges that make this burger work — it’ll just steam and turn grey. Stick with 80/20.
- American cheese: Use the deli-sliced kind, not the individually wrapped singles if you can help it. Deli American melts smoother and covers the patty edge to edge more reliably.
- Real butter: Unsalted or salted both work. Margarine or butter-flavored spreads won’t brown the same way — use actual butter.
- Brioche or potato buns: If your store doesn’t carry the exact bun called for, a soft potato roll is a solid swap. Avoid anything crusty or dense — it won’t compress right and makes the burger hard to eat.
Before you start
The one thing that trips people up is pan temperature. Your cast-iron skillet or griddle needs to be genuinely hot before the beef goes in — not warm, not medium, but hot enough that a drop of water skitters across the surface immediately. A cold or lukewarm pan means the patty steams instead of sears, and you lose those crispy browned edges entirely. Give the pan at least 3 to 4 minutes over high heat before you start. The second thing worth knowing: don’t season the loose beef before you form the balls. Season the top of each ball right after it hits the pan, just before you smash it. This keeps the texture of the patty open and loose, which is exactly what you want for a good smash burger.
Troubleshooting
- Patty sticks to the spatula when smashing: Press a small square of parchment paper between the spatula and the beef ball before smashing. Peel it off cleanly once the patty is flat and starting to set.
- Bun burns before it browns: The butter is hitting too-high heat. Toast the buns on a slightly lower section of the griddle, or reduce heat briefly just for the bun step. You want golden, not black.
- Cheese won’t melt fully: After placing the cheese, add a splash of water to the far edge of the pan and immediately cover with a dome lid or a large metal bowl. The steam melts the cheese in about 20 seconds without overcooking the beef.
- Burger falls apart when you pick it up: The patties are probably too thick. For a smash burger, thinner is better — aim for patties no more than 1/4 inch thick after smashing. Thicker patties don’t hold together as well in a double stack.
- Vegetables make the bun soggy by the time you eat it: Build the burger just before serving, not ahead of time. If you’re making multiple burgers, keep the toppings separate and assemble each one right as it comes off the heat.
Keeping and reheating
Cooked patties keep in the fridge for up to 3 days in an airtight container. Store them separately from the buns and toppings — assembled burgers don’t reheat well. To reheat, put the patties in a dry skillet over medium heat for about 2 minutes per side until they reach 165°F internally if you want to be safe, or just until hot through. Avoid the microwave if you can; it softens the crust and makes the meat rubbery. For longer storage, freeze cooked patties flat on a baking sheet first, then transfer to a freezer bag — they’ll keep for up to 2 months. Thaw overnight in the fridge before reheating. Toast a fresh bun each time rather than reheating a previously toasted one.
ButterBurger Deluxe (Culver’s-Inspired)
Ingredients
For the Buttered Buns:
- 4 whole hamburger buns potato or brioche, split; bakery-fresh if possible
- 3 tbsp unsalted butter softened; European-style butter preferred for flavor
For the Patties:
- 1 lb ground beef (80/20) freshly ground chuck; keep cold for best sear and texture
- 1 tsp kosher salt Diamond Crystal recommended; season to taste
- ½ tsp freshly ground black pepper medium grind for better bite and aroma
- 4 slices American cheese deli-sliced Wisconsin American melts best; 1 slice per double stack
- 1 tbsp neutral oil or clarified butter for the griddle/skillet; optional if pan is well-seasoned
For the Signature Burger Sauce (optional):
- ¼ cup mayonnaise full-fat for best body and gloss
- 1 tbsp Dijon mustard smooth and tangy; adjust to taste
- 2 tsp ketchup a touch of sweetness rounds the sauce
- 1 tsp dill pickle brine from the jar; adds brightness without extra liquid pickles
- ¼ tsp onion powder sub a microplane-grated fresh onion for more pungency (drained)
- 1 pinch granulated sugar balances acidity; optional but recommended
For the Toppings:
- 4 leaves iceberg lettuce large, crisp inner leaves; patted dry for crunch
- 8 slices ripe tomato Roma or beefsteak; 1/4-inch thick, lightly salted just before assembly
- 8 chips dill pickles crinkle-cut for texture; pat dry
- 8 rings red onion paper-thin rings; soak briefly in cold water to mellow if desired
Instructions
- Mise En Place and Heat: Set a cast-iron griddle or heavy skillet over medium-high heat. Aim for a surface temp around 400°F (205°C) if you have an infrared thermometer. Arrange buns, butter, toppings, and cheese within arm’s reach.
- Mix the Optional Sauce: In a small bowl, whisk mayonnaise, Dijon, ketchup, pickle brine, onion powder, and a pinch of sugar until smooth. Taste and adjust salt/acid to preference. Refrigerate until needed.
- Prep the Toppings: Leaf the lettuce, slice tomatoes into 1/4-inch rounds, blot pickles dry, and shave red onion into thin rings. Keep everything chilled and dry for maximum crunch and color contrast.
- Butter and Toast Buns: Spread the cut sides of each bun with softened butter. Place cut-side down on a medium heat zone of the griddle (about 350°F / 175°C) until golden, 1–2 minutes. Transfer to a warm plate or a 200°F (95°C) oven to hold.
- Portion the Beef: Divide the cold ground beef into 8 equal portions (about 2 oz each). Roll gently into loose balls—do not compress. Keep chilled until the moment of cooking for a better sear and juicier bite.
- Lightly Grease and Place the Beef: Wipe the hot griddle with a thin film of neutral oil or clarified butter. Place 2–4 beef balls on the hottest zone, leaving space between them.
- Smash for Crispy Edges: Place a small square of parchment over each ball and press firmly with a sturdy spatula or burger press to about 1/8-inch thick. Hold pressure for 8–10 seconds to set the crust. Season with kosher salt and black pepper. Cook without moving until the edges turn frilly and deep brown, about 60–90 seconds; you’ll smell toasty, savory aromas.
- Flip and Melt: Scrape under each patty with a sharp metal spatula to preserve the crust and flip. Top half the patties with American cheese. Cook 30–45 seconds more, just until the cheese melts and juices bead on the surface. Stack a cheese-topped patty on a plain patty to form doubles.
- Repeat: Repeat smashing, seasoning, flipping, and stacking for the remaining patties, maintaining heat around 400°F (205°C). Adjust burner as needed to prevent scorching.
- Assemble the Deluxe: On each bottom bun, spread about 1 tbsp sauce (or mayonnaise). Layer pickles and onion rings, then the double patty stack (cheese on top), followed by tomato slices and a crisp lettuce leaf. Crown with the butter-toasted top bun. Rest 1 minute to let the cheese settle, then serve immediately.
Notes
Chef’s Tips:
- Beef Matters: 80/20 chuck delivers the classic flavor and juiciness. If using leaner beef, mix in 1 tbsp beef tallow per pound to restore richness.
- Don’t Overwork: Keep the beef loosely packed; tight patties cook tough and won’t develop lacy edges.
- Heat Discipline: 400°F (205°C) surface temp is the sweet spot. Too low = steamed meat; too high = scorched exterior, raw center.
- Press Technique: Use parchment between spatula and beef to prevent sticking and preserve the crust.
- Butter Upgrade: European-style butter gives a sweet, creamy finish to the buns. Clarified butter resists burning.
- Cheese Swap: Mild or medium Wisconsin cheddar works if you prefer, but American cheese melts most evenly.
- Dietary Tweak: Gluten-free buns toast nicely—brush with ghee for flavor. For dairy-free, use plant butter and dairy-free American-style slices.
Nutrition
FAQ
Can I use a regular non-stick pan instead of cast iron?
You can, but cast iron holds heat much better and gives you a stronger sear. A non-stick pan works in a pinch — just make sure it’s oven-safe to high heat and that you preheat it thoroughly, since non-stick pans lose temperature faster when cold beef hits the surface.
How do I know when the patty is ready to flip?
Look at the edges: when the bottom third of the patty has turned from pink to brown-grey all the way around the perimeter, it’s ready. For thin smash patties this usually takes about 1 to 2 minutes — they cook fast, so don’t walk away.
Do I have to make a double patty, or can I do a single?
A single patty works fine. Just know that one thin smash patty cooks very quickly — under 90 seconds per side — so watch it closely, and make sure it reaches 160°F (71°C) internal temperature before you pull it off the heat.