
These are gluten-free hamburger buns you actually want to eat — soft in the middle, golden outside, and sturdy enough to hold a loaded burger without falling apart. The dough is wetter than traditional bread dough, which surprises people the first time, but that’s exactly what makes them work. If you’ve been settling for dry, crumbly store-bought GF buns, this recipe is worth the 25-minute prep.
The technique that matters
The single most important step is activating the yeast properly before anything else goes in the bowl. Warm your milk to between 105°F and 110°F — too cool and the yeast won’t wake up, too hot and you’ll kill it. You’ll know it’s working when the mixture looks foamy after about 5 minutes. Get this wrong and the buns bake up dense, no matter how good your flour blend is. The second thing that matters is resisting the urge to add more flour when the dough looks too wet. Gluten-free batter dough is supposed to be sticky and loose — that high hydration is what keeps the finished bun tender rather than dry. Use wet hands or a wet ice cream scoop to portion it, not extra flour.
Common problems and fixes
- Buns spread flat instead of rising up: Your yeast was likely underactivated. Check that your milk was warm enough and that your yeast isn’t expired. A burger bun pan with rings will also physically hold the shape while they proof and bake.
- Gummy or undercooked center: Pull one bun and tap the bottom — it should sound hollow. If not, give them 3–5 more minutes. Oven temperatures vary more than people expect, and gluten-free baked goods hold moisture longer than wheat-based ones.
- Tops crack instead of browning smoothly: This usually means the dough dried out on the surface before it finished rising. Cover the shaped buns loosely with lightly oiled plastic wrap during the proof, not a dry towel.
- Buns taste flat or bland: Don’t skip the apple cider vinegar. It sounds odd in a bun recipe, but it sharpens the overall flavor and helps the buns brown properly — leaving it out makes a noticeable difference.
- Buns stick to the pan: Parchment paper is non-negotiable here. Gluten-free doughs have less structure and cling to unlined pans far more than regular dough does.
Substitutions that actually work
- Milk: Oat milk or full-fat canned coconut milk both work well. Avoid thin, watery plant milks like rice milk — the buns will come out less rich and may not brown as well.
- Honey: Maple syrup is a direct swap in the same quantity. It activates the yeast just as effectively.
- Olive oil: Melted butter or a neutral oil like avocado oil works fine. Butter adds a slightly richer flavor.
- Egg wash: Brush with oat milk or full-fat coconut milk if you’re avoiding eggs. The tops won’t be quite as glossy but will still brown. Skip sesame seeds if you’re cooking for anyone with a sesame allergy — it’s one of the top nine allergens.
- Tapioca starch: Arrowroot starch is the closest substitute at a 1:1 ratio. Cornstarch will work in a pinch but produces a slightly denser crumb.
Make-ahead notes
Baked buns keep at room temperature for up to 2 days wrapped tightly in plastic — after that they start to dry out faster than wheat buns do. For longer storage, freeze them individually wrapped in plastic and then sealed in a zip-top bag; they’ll keep well for up to 3 months. Reheat straight from frozen: wrap in a damp paper towel and microwave for 45–60 seconds, or split and toast cut-side down in a dry skillet over medium heat for about 2 minutes. The skillet method gives you a better crust. You can also shape and freeze the unbaked dough portions on a sheet pan, then transfer to a bag once solid — thaw overnight in the fridge, let them come to room temperature and finish proofing, then bake as directed.
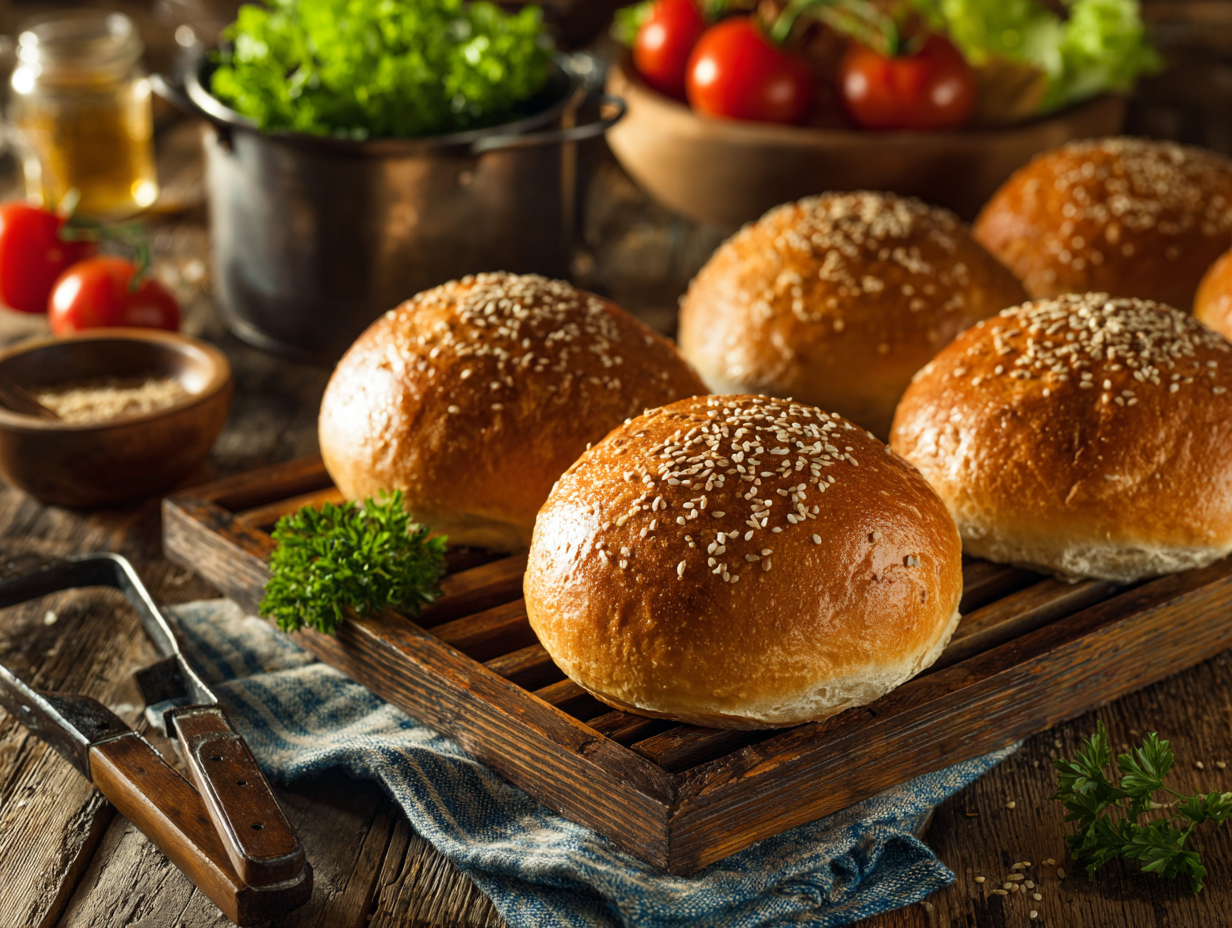
Gluten-Free Hamburger Buns

Ingredients
- 1 cup warm whole milk about 110°F; substitute with warm almond milk for dairy-free
- 2 ¼ teaspoons active dry yeast
- 1 tablespoon honey or maple syrup
- 2 large eggs room temperature
- 2 tablespoons olive oil plus more for greasing
- 1 ½ cups gluten-free all-purpose flour blend with xanthan gum included
- ½ cup tapioca starch
- ½ teaspoon fine sea salt
- 1 teaspoon apple cider vinegar
- 1 large egg wash for brushing tops, optional
- 1 tablespoon sesame seeds optional, for garnish
Instructions
- In a mixing bowl, combine the warm milk, active dry yeast, and honey. Let sit for 5–10 minutes until frothy — this means the yeast is active.
- Whisk in the eggs, olive oil, and apple cider vinegar until fully combined.
- Add the gluten-free flour blend, tapioca starch, and salt to the wet ingredients. Mix using a stand mixer with paddle attachment on medium speed for 2–3 minutes until the batter is smooth and sticky. It should be thicker than cake batter but not like traditional bread dough.
- Grease a 6-cavity burger bun pan or line a baking sheet with parchment. Scoop equal portions of dough into the pan cavities or shape them into rounds using wet hands if free-forming.
- Cover the pan with a clean towel and let the buns rise in a warm place for 35–45 minutes, until puffy and slightly risen. They won’t double in size but should look airy and light.
- Preheat oven to 375°F (190°C). Beat the egg for the egg wash and gently brush the top of each bun, then sprinkle with sesame seeds if using.
- Bake the buns for 22–25 minutes until the tops are golden brown and the buns sound slightly hollow when tapped. Let cool in the pan for 5 minutes, then transfer to a rack to cool completely before slicing.
Notes
- For a dairy-free option, use warm unsweetened almond or oat milk instead of dairy milk.
- If your gluten-free flour doesn't have xanthan gum, add 1 tsp to the flour mix.
- Use an ice cream scoop to portion the sticky dough evenly.
- To reheat buns, toast lightly or steam for 1 minute for fresh softness.
Nutrition
FAQ
Does the gluten-free flour blend I use really matter that much?
Yes, it matters more than almost any other ingredient in this recipe. You need a blend that already contains xanthan gum — without it, the buns won’t hold together. Blends marketed as “measure for measure” or “1:1” replacements for all-purpose flour are generally the right type.
Can I make these without a stand mixer?
A hand mixer works fine. The dough is too wet and sticky to mix effectively by hand with a spoon alone, so some kind of electric mixer is genuinely helpful here, not just a convenience.
How do I know when the buns are fully baked?
The tops should be deep golden brown and the bottoms should sound hollow when tapped. An instant-read thermometer inserted into the center should read at least 200°F — gluten-free baked goods need to reach a higher internal temperature than meat to be fully set.
My dough looks nothing like bread dough. Is something wrong?
Nothing is wrong — this is normal. Gluten-free bun dough is much wetter and stickier than wheat dough and won’t form a smooth ball you can knead. Expect something closer to thick cake batter.
Can I make the dough the night before and bake in the morning?
Yes. After shaping, cover the buns tightly and refrigerate overnight. Pull them out about 45 minutes before baking to let them come to room temperature and finish proofing, then bake as directed.
Will these buns hold up to a juicy burger without getting soggy?
They hold up well, especially if you toast the cut sides first. Toasting creates a barrier that slows moisture absorption significantly — it’s worth the extra two minutes.
If you liked this one
- Beyond Western Bacon Cheeseburger
- Veggie Sauce Burger Perfection
- Hawaiian Teriyaki Burger Recipe
- Ultimate Avocado Bacon Smash Burger