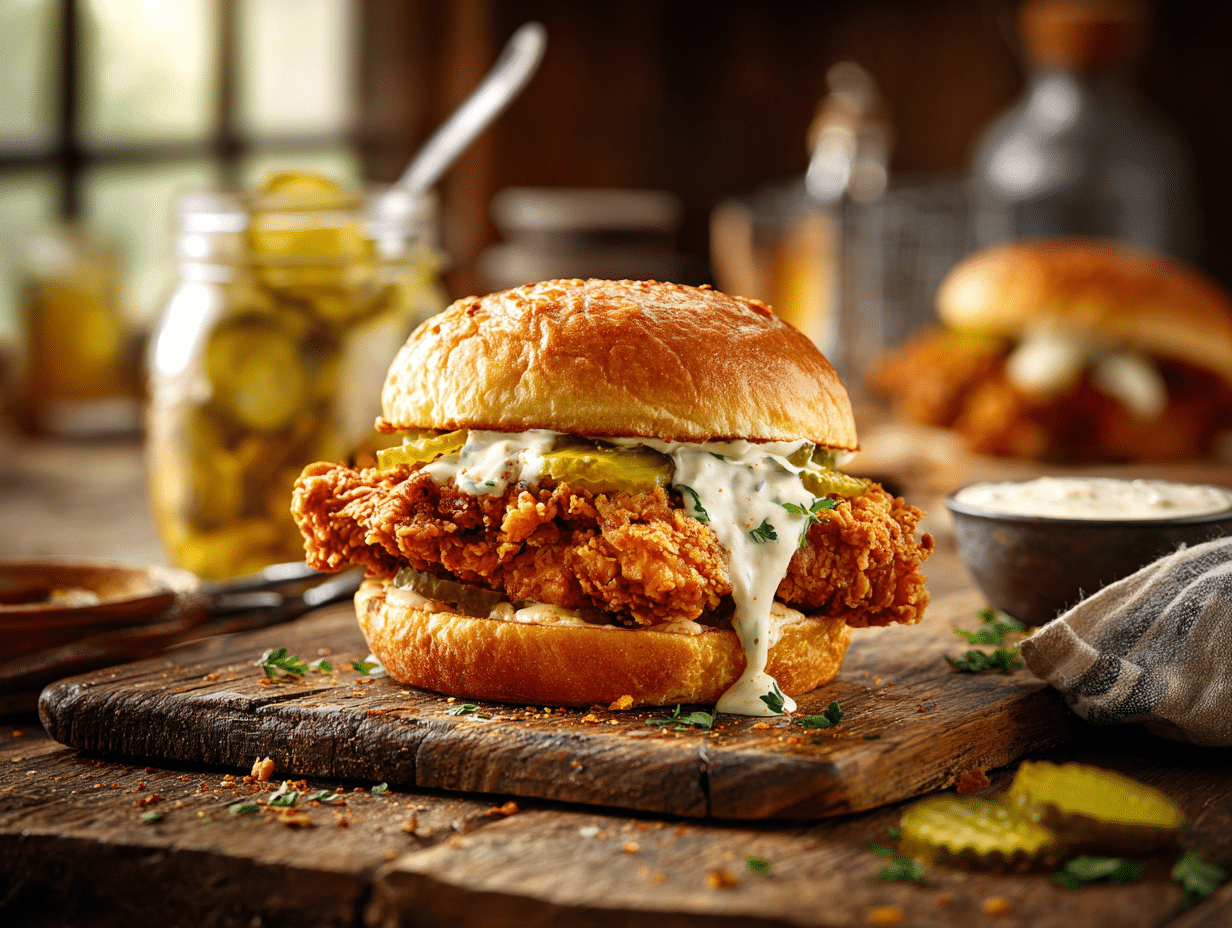
This is a homemade take on KFC’s Famous Chicken Sandwich — buttermilk-brined chicken breast, a craggy seasoned crust, dill pickles, and pepper mayo on a toasted brioche bun. The honest reason to make it at home: you control the brine time, the oil temp, and the thickness of the chicken, which means you can actually get it right every time. It also comes together faster than most people expect on a weeknight.
What makes this version work
Two things matter most here. First, the brine does real work — buttermilk and pickle brine together tenderize the meat and season it all the way through, not just on the surface. Don’t skip or shorten it if you can help it, but even 30 minutes beats nothing if you’re pressed for time. Second, the craggy crust comes from deliberately splashing a small amount of the buttermilk brine into the seasoned flour before you dredge, so the coating clumps. Those clumps fry up into the crunchy, irregular bits that make the texture interesting. Without that step you get a flat, uniform crust — still fine, but not the same thing.
About the ingredients
- Pickle brine: Just use the liquid from a jar of dill pickles. Don’t buy anything special — the cheap store-brand jar works perfectly.
- Brioche bun: Brioche toasts fast and holds up to the sauce without going soggy. A potato roll is a solid swap if that’s what’s in the store.
- Pepper mayo: If you’re making your own, cracked black pepper and a small pinch of cayenne in regular mayo is all it takes. Pre-made chipotle mayo also works.
- Chicken breast thickness: Thick breasts need to be butterflied or pounded to an even thickness — roughly ¾ inch. Uneven thickness means one end dries out before the other is cooked through to the required 165°F (74°C).
Leftovers and meal prep
Fried chicken keeps in the fridge for up to 3 days in an airtight container — store the chicken separately from the bun and toppings. To reheat, skip the microwave; it steams the crust soft. A wire rack set over a baking sheet in a 375°F oven for 10–12 minutes brings the crust back close to crispy. You can also freeze the fried, cooled chicken pieces for up to 2 months — reheat straight from frozen at 400°F for about 18–20 minutes. The brine is easy to prep the night before, so if you’re planning a weeknight cook, just drop the chicken in before bed and it’s ready when you get home.
Mistakes to avoid
- Crowding the pan: Frying more than two pieces at once drops the oil temperature fast. You end up with greasy, pale chicken instead of a crispy crust. Fry in batches and let the oil recover between them.
- Skipping the resting step after frying: Cutting into the chicken immediately lets all the juice run out. Give it at least 3–4 minutes on a wire rack before you build the sandwich.
- Using cold chicken straight from the fridge: Cold chicken takes longer to cook through, which means the crust can overbrown before the interior hits 165°F. Pull it from the fridge 15–20 minutes before frying.
- Over-pressing the coating onto the chicken: Pack the flour on firmly and you compress it into a dense shell that doesn’t crisp as well. Press lightly, shake off the excess, and let those clumps do their thing.
- Toasting the bun too early: Toast it right before assembly. A bun that sits for 10 minutes while you finish frying goes from pleasantly crisp to dry and hard fast.
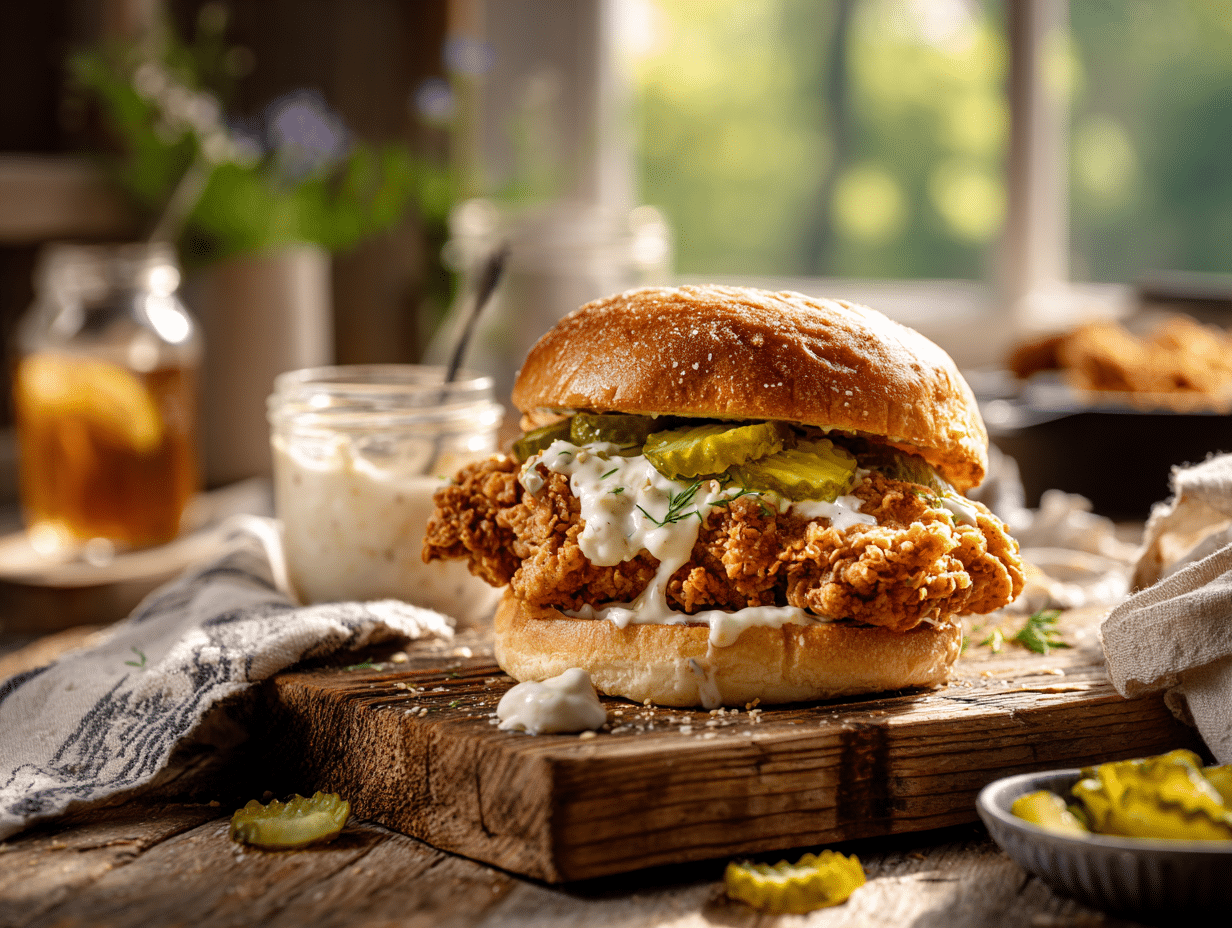
KFC-Style Classic Famous Chicken Sandwich

Ingredients
Buttermilk Brine
- 2 cups whole cultured buttermilk Cold; full-fat preferred for tenderness
- 0.5 cup dill pickle brine From a quality jar of dill pickles; adds tang
- 1 tablespoon hot sauce Louisiana-style
- 1.5 teaspoons kosher salt Diamond Crystal; use 1 teaspoon if using Morton
- 1 teaspoon ground white pepper Classic Southern fried chicken note
- 1 teaspoon garlic powder
- 1 teaspoon onion powder
- 1 teaspoon paprika Sweet paprika
Chicken
- 2 pieces large boneless, skinless chicken breasts Halved horizontally to make 4 fillets (about 4–5 oz each (115–140 g each)), pounded to 1/2-inch thickness
Crispy Coating
- 2 cups all-purpose flour Unbleached if possible
- 0.5 cup cornstarch For extra shatter-crisp texture
- 1 teaspoon baking powder Promotes airy craggy bits
- 1.5 teaspoons kosher salt Diamond Crystal; reduce if using a saltier brand
- 1 teaspoon freshly ground black pepper
- 1 tablespoon paprika Sweet paprika
- 2 teaspoons garlic powder
- 2 teaspoons onion powder
- 0.5 teaspoon ground white pepper
- 0.5 teaspoon cayenne pepper Adjust to taste
- 1 teaspoon MSG (Accent), optional Amplifies savoriness
- 3 tablespoons reserved buttermilk brine For creating craggy dredge; do not add raw chicken back to flour
For Frying
- 2 quarts neutral frying oil (peanut or canola) Enough for 2 inches of oil in a heavy pot
Pepper Mayo
- 0.5 cup mayonnaise Real mayo for best texture
- 1 teaspoon Dijon mustard
- 1 teaspoon fresh lemon juice Balances richness
- 0.5 teaspoon freshly ground black pepper Coarse grind for pop
- 0.25 teaspoon smoked paprika Optional, adds warmth
- 1 teaspoon hot sauce, optional For a spicy version
- 0.5 teaspoon honey, optional Balances heat
Assembly
- 4 pieces brioche sandwich buns Soft, sturdy; split
- 2 tablespoons unsalted butter, softened For bun toasting
- 14 slices dill pickle chips Cold and crisp
Instructions
- Prep the chicken: Halve 2 large chicken breasts horizontally to make 4 even fillets. Place between plastic wrap and gently pound to about 1/2 inch thickness for even cooking.
- Make the buttermilk brine (4 hours marination): In a nonreactive bowl, whisk buttermilk, pickle brine, hot sauce, kosher salt, white pepper, garlic powder, onion powder, and paprika until smooth. Submerge chicken, cover, and refrigerate at least 4 hours (or up to overnight for deeper seasoning).
- Mix the crispy coating: In a wide bowl, combine flour, cornstarch, baking powder, kosher salt, black pepper, paprika, garlic powder, onion powder, white pepper, cayenne, and optional MSG. Stir well. Drizzle 2–3 tablespoons of the clean buttermilk brine into the flour and toss with fingers to form tiny, flaky clumps—these become the signature craggy crust.
- Heat the oil: Pour 2 inches of neutral oil into a heavy pot and heat to 350°F (175°C). Set a wire rack over a baking sheet and preheat your oven to 200°F (95°C) to keep fried chicken warm between batches.
- Dredge the chicken: Lift a fillet from the brine, letting excess drip off. Press firmly into the flour mixture, turning to coat and packing on craggy bits. Shake gently and place on the rack to rest 5–7 minutes; this helps the coating adhere and crisp.
- Fry, batch one: Carefully lower 2 coated fillets into the 350°F (175°C) oil. Fry 3–4 minutes per side (6–8 minutes total) until deep golden brown and the thickest part reads 165°F (74°C). Listen for a lively but steady sizzle; too aggressive means oil is too hot, a lazy bubble means too cool. Transfer to the rack and keep warm in the 200°F (95°C) oven.
- Fry, batch two: Let the oil recover to 350°F (175°C) and repeat with remaining fillets. Skim any loose crumbs to prevent bitterness and maintain oil clarity.
- Make the pepper mayo (while oil heats or between batches): Whisk mayonnaise, Dijon, lemon juice, black pepper, smoked paprika, and optional hot sauce and honey until smooth and glossy. Taste and adjust salt/acid/heat to your liking.
- Toast the buns: Spread cut sides with softened butter. Toast cut-side down in a dry skillet over medium heat until deep golden, 1–2 minutes, or bake briefly on a sheet tray. The aroma should be nutty and the surface crisp.
- Assemble: Spread pepper mayo on both bun halves. Layer pickles on the bottom bun, add a hot, crispy chicken fillet, more pickles if you like, then crown with the top bun. Serve immediately while the crust crackles.
Notes
Chef’s Tips
- Craggy crust insurance: After dredging, lightly spritz the coated chicken with brine using your fingers, then re-dredge a few spots to build extra flakes.
- Oil control: Work in small batches and allow oil to return to 350°F (175°C) before the next batch. A clip-on thermometer is your best friend.
- Double-dip option: For ultra-thick crust, dip dredged chicken back in brine, then into flour again; rest 5 minutes before frying.
- Dietary adaptations: Use a 1:1 gluten-free flour blend plus rice flour (replace cornstarch) for a light, crisp GF crust. For dairy-free, swap buttermilk with unsweetened oat milk mixed with 1 tablespoon lemon juice and 1 tablespoon vegan mayo.
- Heat levels: For a spicy sandwich, add 1 teaspoon cayenne to the flour and 2 teaspoons hot sauce to the mayo.
- Faster onion-caramel note: If adding sautéed onions, cook thin slices in a wide pan with a pinch of baking soda to speed browning, then drain well before topping.
Serving Suggestions
- Plating: Serve on a warm plate with the sandwich slightly off-center, pickles peeking out and mayo just visible at the edges. Add a small ramekin of extra pepper mayo.
- Sides: Crispy fries, tangy coleslaw, or a simple dill-cucumber salad. A cold lager, iced tea, or a lemony spritz pairs beautifully.
- Doneness cues: Perfectly fried fillets are deep golden with a glassy, craggy crust and an audible crunch; interior juices run clear and temp is 165°F (74°C).
Culinary Context
This sandwich borrows technique from American Southern fried chicken—seasoned buttermilk brining, pepper-forward spice, and precise frying—chasing the nostalgic comfort of the famed fast-food original while elevating texture and balance for the home cook.Optional Advanced Instructions
- Make-ahead: Brine chicken up to 24 hours. Mix the flour dredge and store airtight. Pepper mayo keeps 3 days refrigerated.
- Parallel prep: While oil preheats, toast buns and make the mayo to hit the table hot.
- No thermometer? Drop a pinch of flour into oil; it should fizz immediately but not scorch. Or insert a wooden spoon—bubbles should form steadily around it.
Nutrition
Your questions, answered
Can I use chicken thighs instead of chicken breast?
Yes, boneless skinless thighs work well here and are more forgiving if you slightly overshoot the cook time. They still need to reach 165°F (74°C) internal — use a thermometer to check.
What oil is best for frying this?
Vegetable oil or peanut oil are the most practical choices — both have high smoke points and neutral flavor. Avoid olive oil; it smokes at frying temperatures and adds a flavor that doesn’t belong here.
Can I make this in an air fryer instead of deep frying?
You can, but the crust won’t be as craggy or as deeply golden. Spray the coated chicken generously with oil and cook at 400°F for about 18–20 minutes, flipping once halfway through, until internal temp hits 165°F (74°C).
How do I know the oil is at the right temperature without a thermometer?
Drop a small pinch of flour into the oil — if it sizzles immediately and floats, you’re close to 350°F. A thermometer is worth the few dollars though, because guessing oil temp is the single most common reason homemade fried chicken comes out greasy.
Can I prep the coated chicken ahead and fry it later?
Yes — dredge the chicken, set it on a wire rack, and refrigerate uncovered for up to 1 hour before frying. The coating actually adheres better after a short rest. Don’t go much longer than that or the coating can get gummy.
My crust keeps falling off during frying — what’s going wrong?
The most common cause is wet chicken going into the flour. Let the brined chicken drain for a minute before dredging, and make sure you’re pressing the coating on firmly enough to make initial contact. Also avoid moving the chicken in the oil for the first 2 minutes — let the crust set before you touch it.